DIY Pallet Wood Table
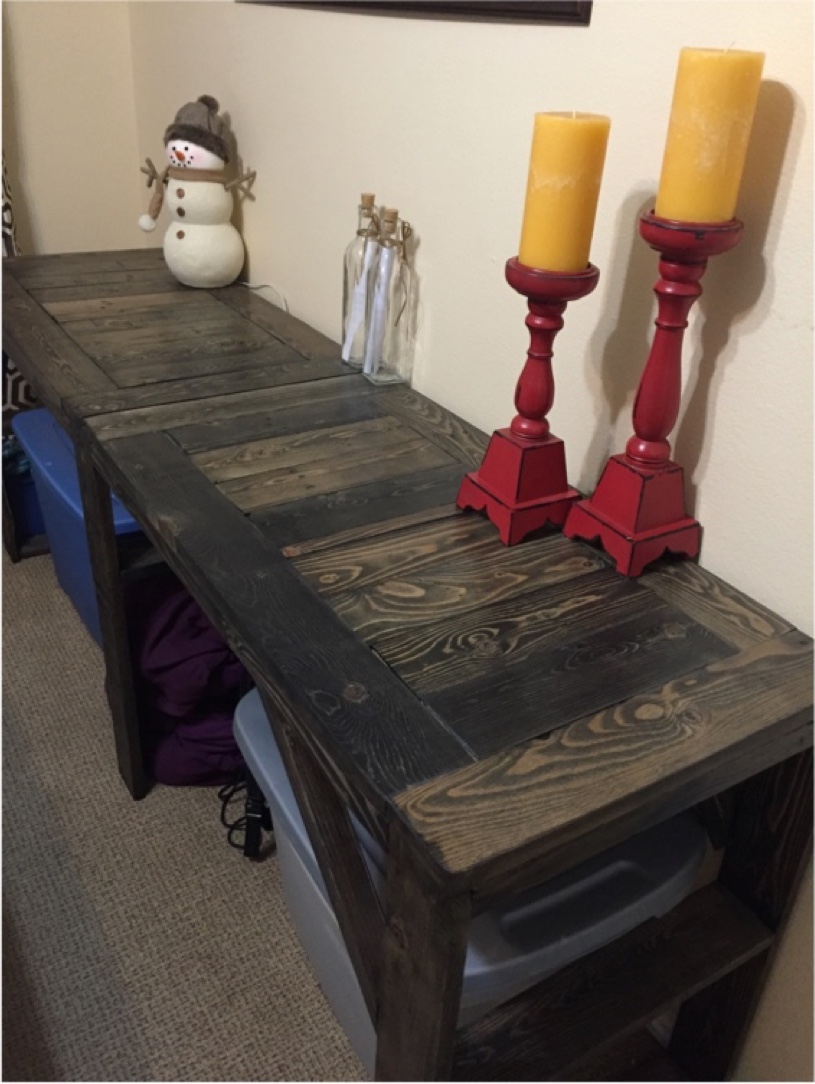
Here is the Finished product just to get started. My sister go married and moved into a new apartment. Since she and her husband are still in college they did not have much money but wanted a nice apartment together, My wife likes to design and decorate so she decided she would decorate their place and I would make the furniture. So this is the first of a few pieces we did. You can check out her work at on Instagram at @byjo_designs
Originally this piece was to go behind the couch in the living room because of a strange layout the couch could not sit against the wall. Since then it has made it into their bed room as a nice table with storage underneath.
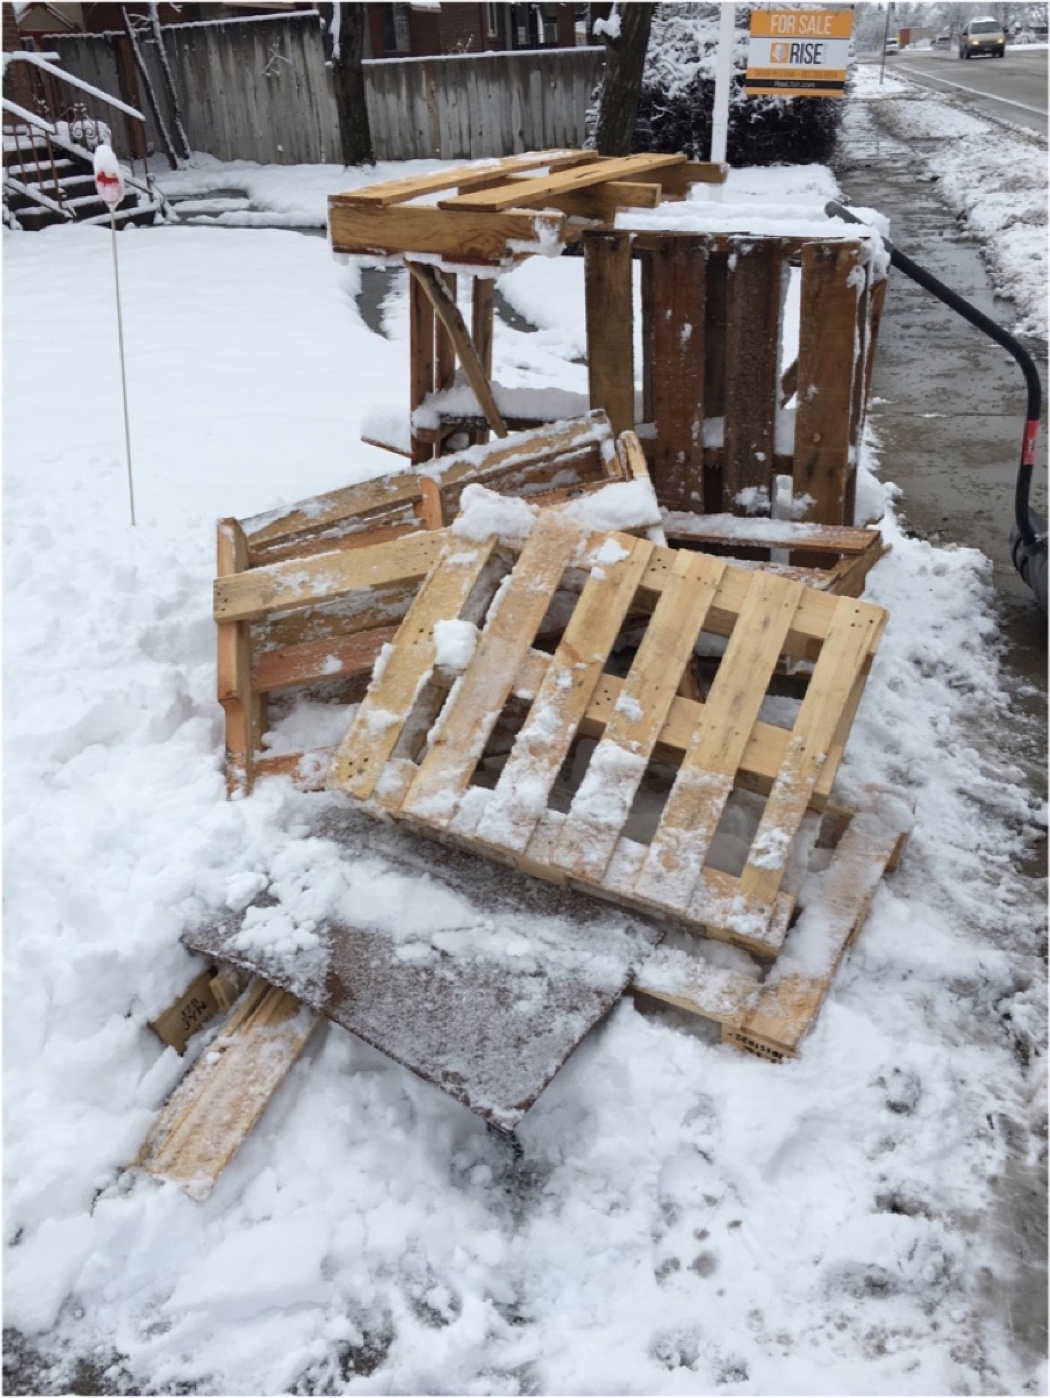
Collected some pallet wood there are always posts of free pallets you can pick up. This is only a portion of the pallets I used.
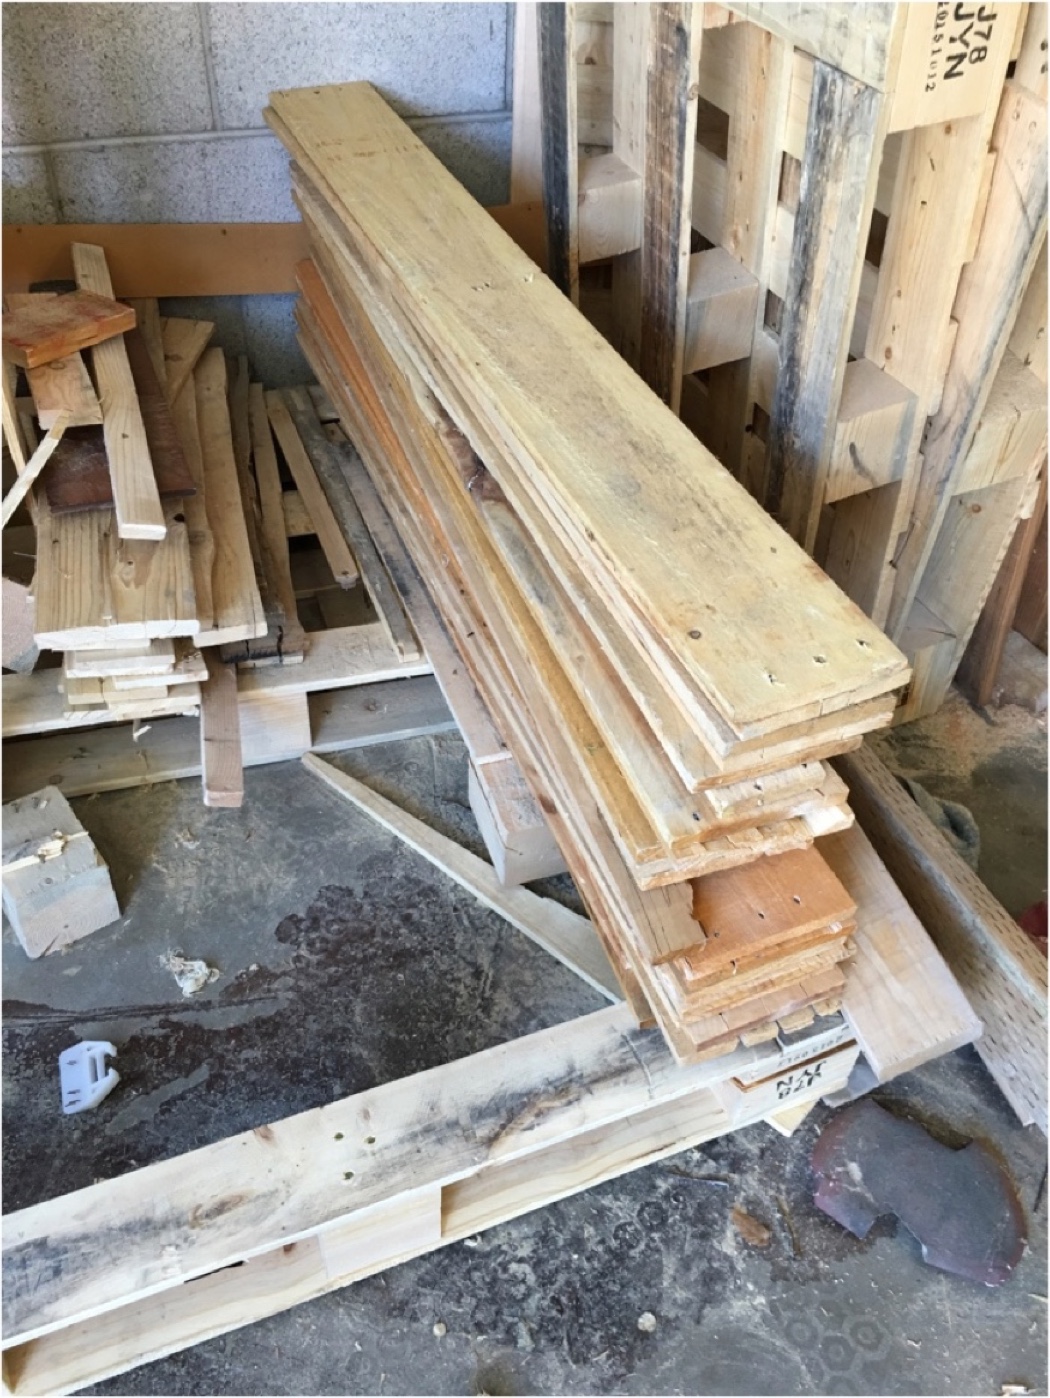
The only tools that you have to have for this project are the basics for all DIY projects.
I used:
Hamer A Crow bar ( for pulling the pallets apart )
10” Table Saw
Drill and impact Drill 3/8” Bits to sink the screw heads.
Screws 1 1/2”
Measuring Tape
Electric Sander Clamps
Used a crow bar to pry the planks off the pallets and hammered the nails out back wards to remove them. Some people just cut off the boards at the nails with a circular saw which is a faster way of doing it of coarse but I kinda like the look with the old nail holes. Then I took each bard and sanded them down to give a smooth finish and remove any paint or other cruft that was on the boards. Then I took the boards and cut them in to 12” sections for the center of table.

I needed a long table to stretch the length of the couch and decided since my boards were limited basically to the length of a pallet that I would make two sections and buy some cheap 1 x 1 to hold it all together. Laid out all the boards to make sure they fit together and sanding the ends of the longer boards so they are all the same size.

Lining things up checking it twice.
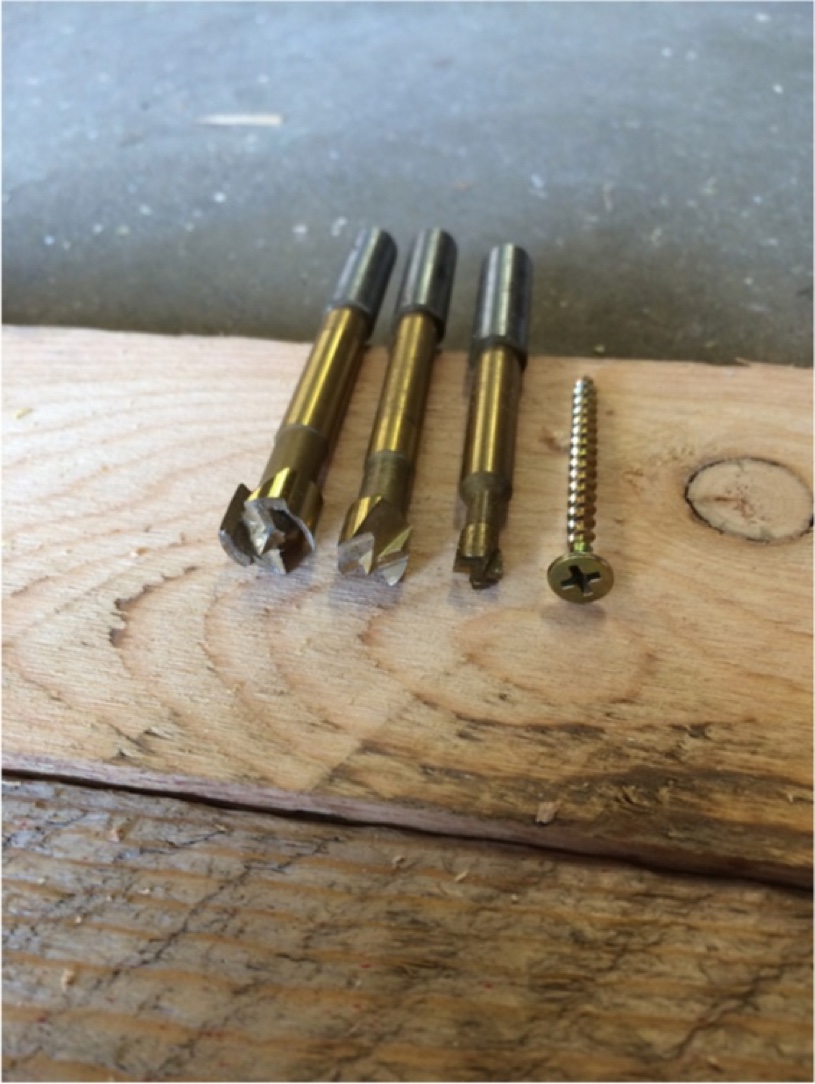
Selected a bit that was as close as i could get the the size of the head of my screws. This bit will let me recess the screw under the surface of the board helping to hide them. I believe it was a 3/8” bit but may vary based on what screws you use.
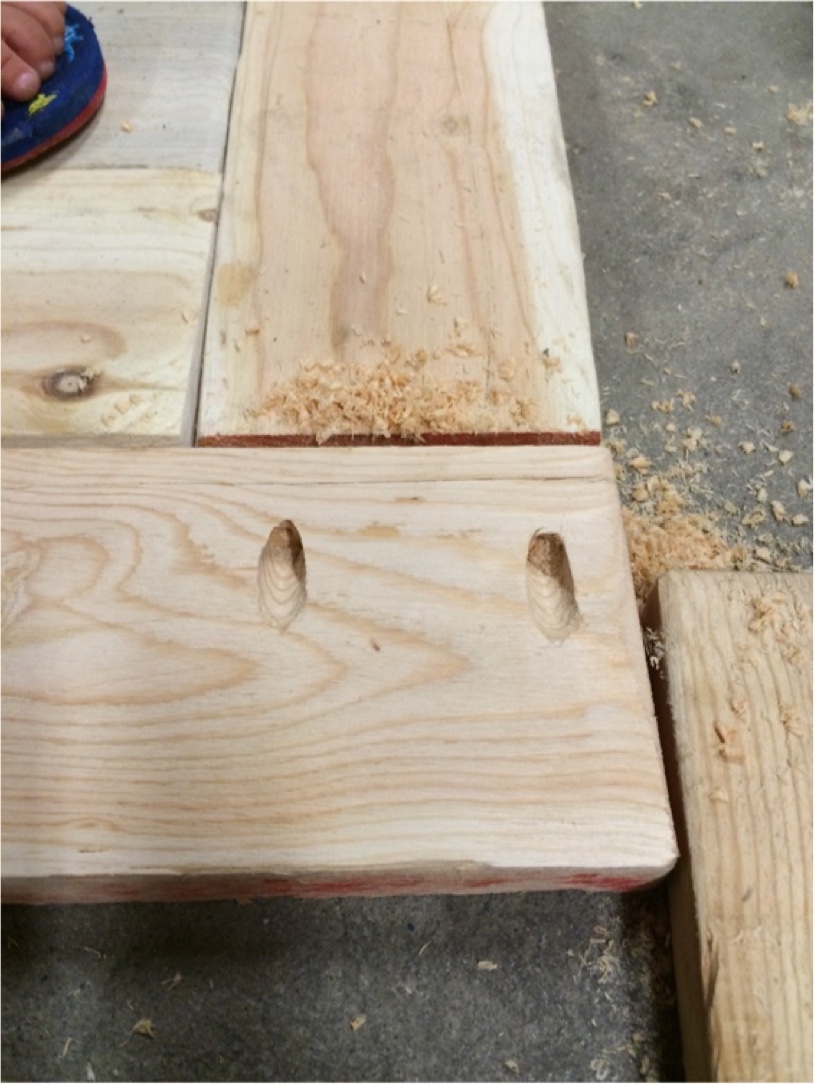
Pre drilling holes for the screws so the heads don’t stick out. There is a tool that you can use as a guide for this but I just hold my drill at the angle I want and start about half way up the board and drill till there is about 1/4 of the board left.
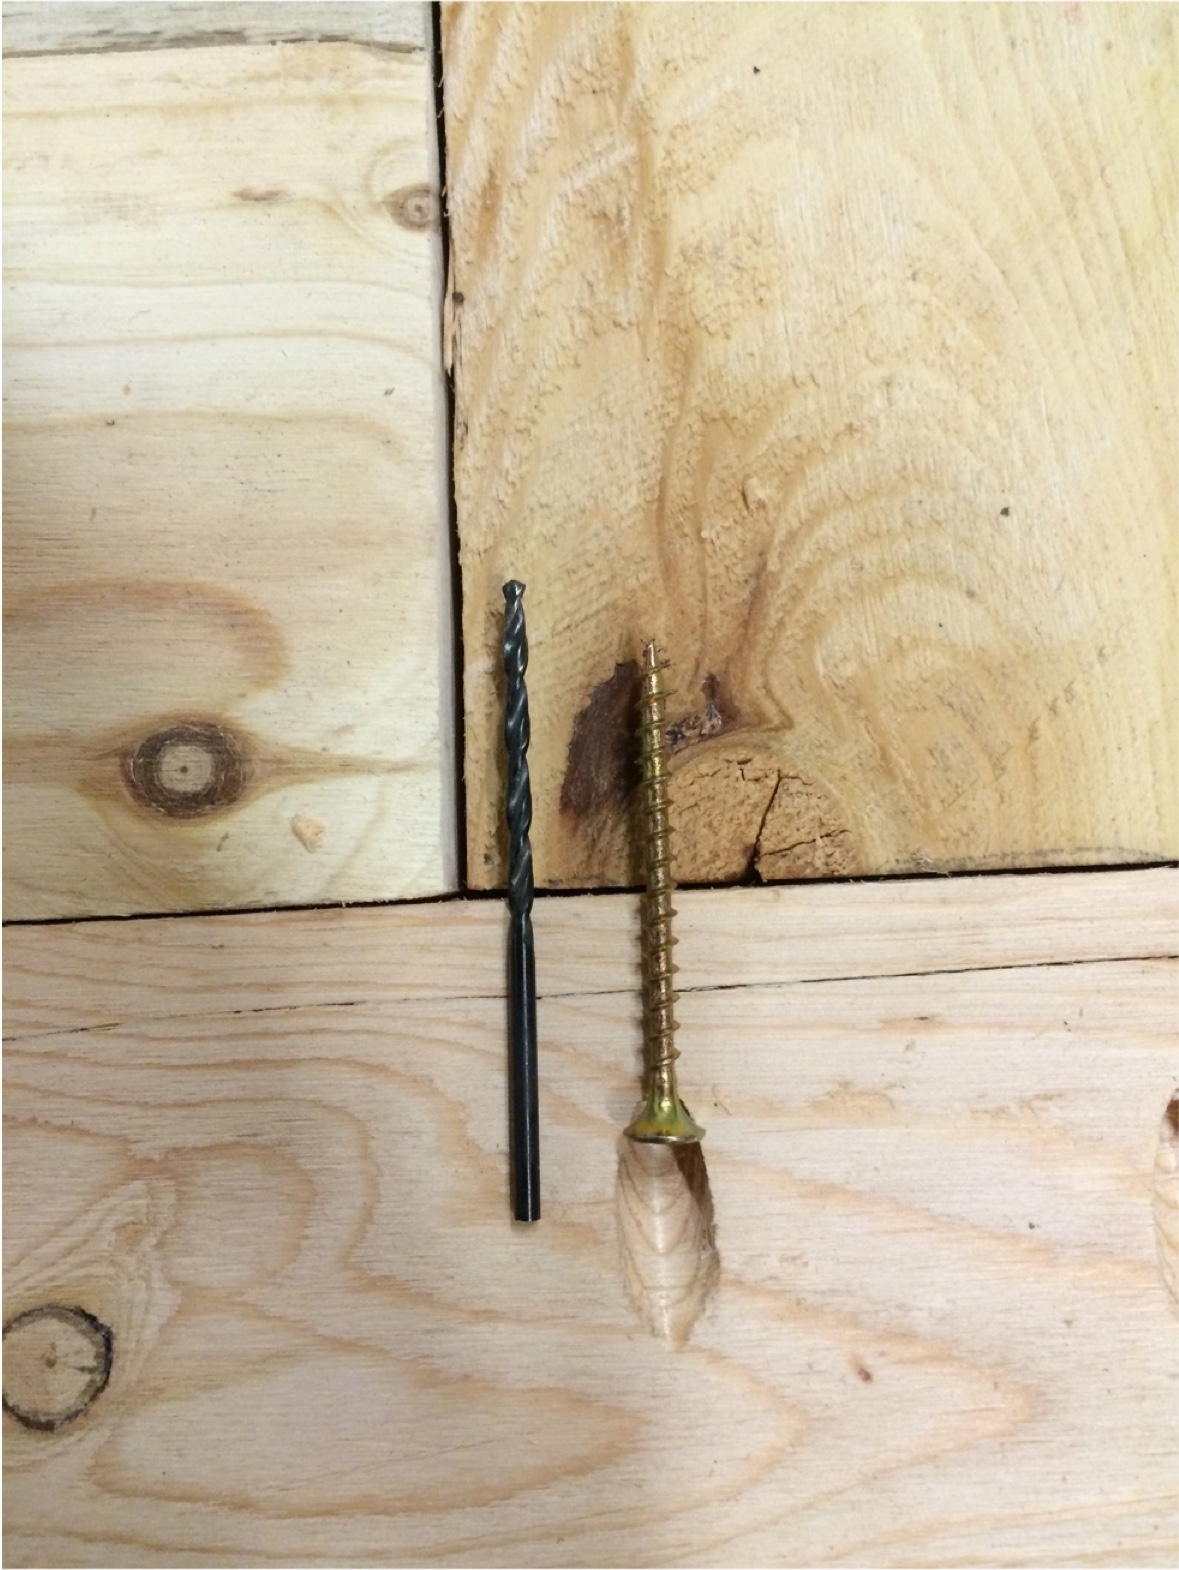
Then I take a bit that is smaller then my screws and drill a pilot hole to prevent the screw from splitting the wood as it is cranked down. I shoot for about half if not more of the screw going into the other board.
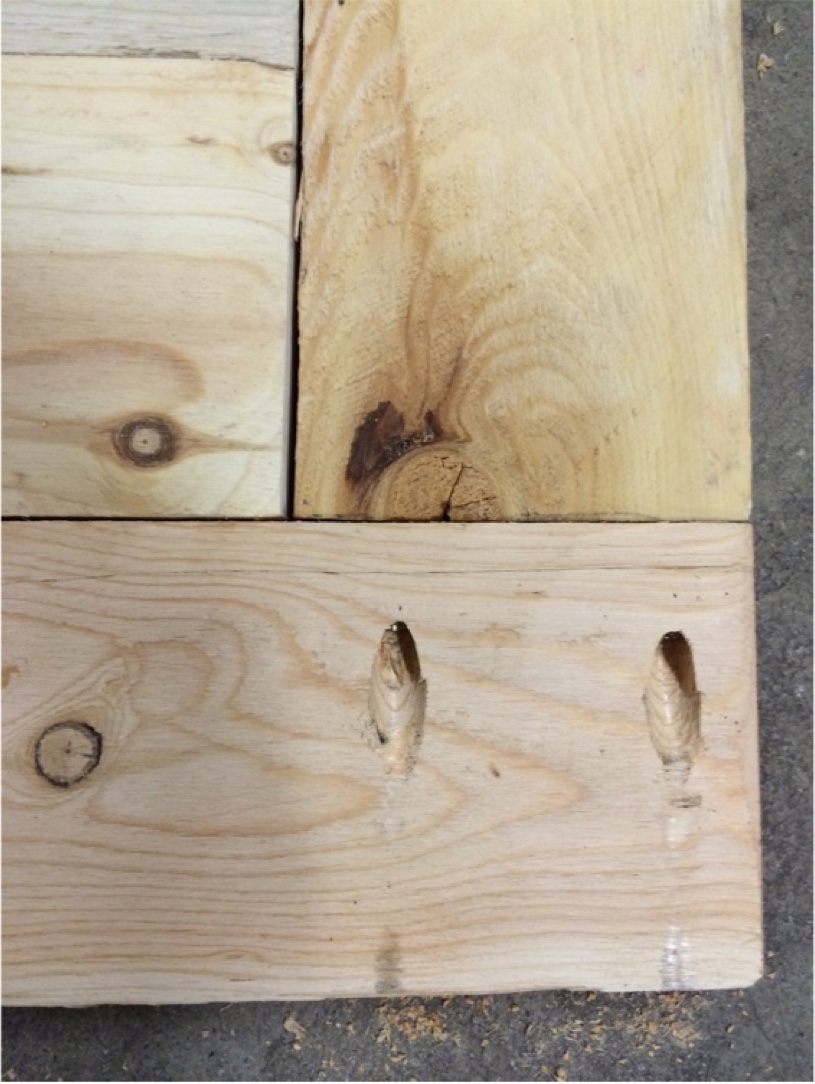
Watch out for your drill rubbing on the wood if your drill bit is not long enough. This is the bottom side so it will not bee seen at all.

The screw holding the frame together inset in the board so it will lay flat on the frame for the legs.
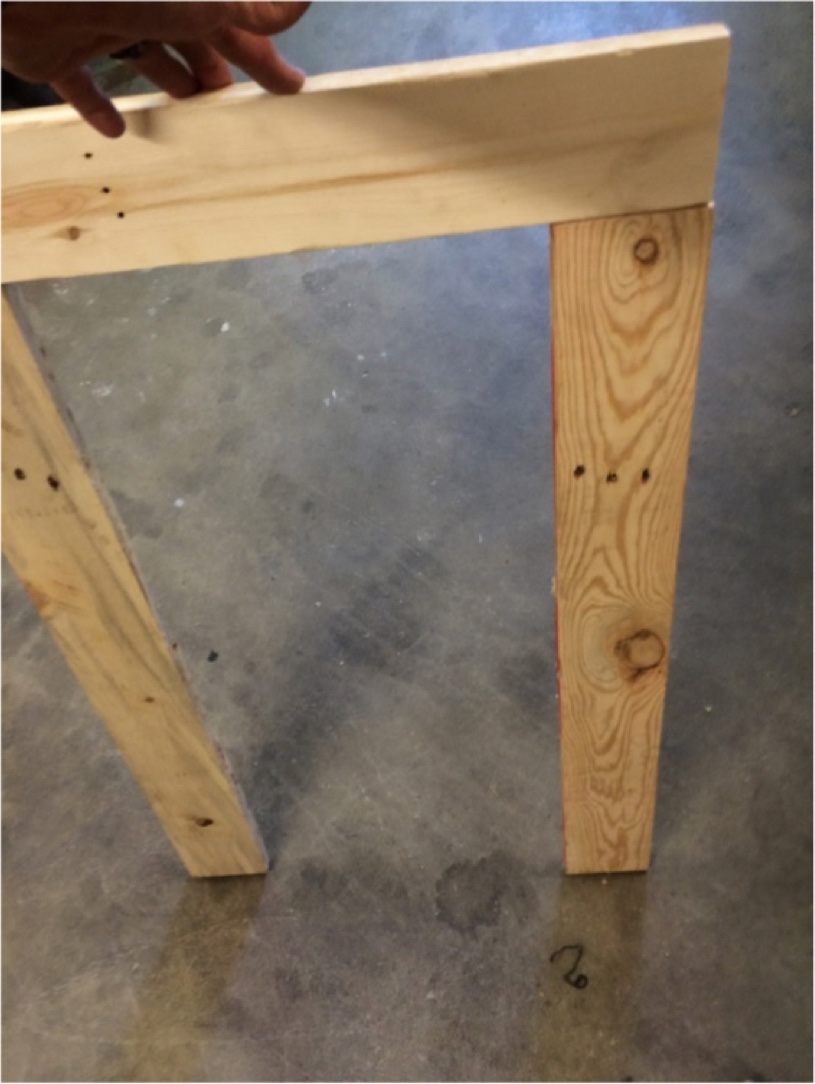
I screwed the outer frame together of one side and lift it up like this so I can apply pressure down while holding the boards strait and snug.
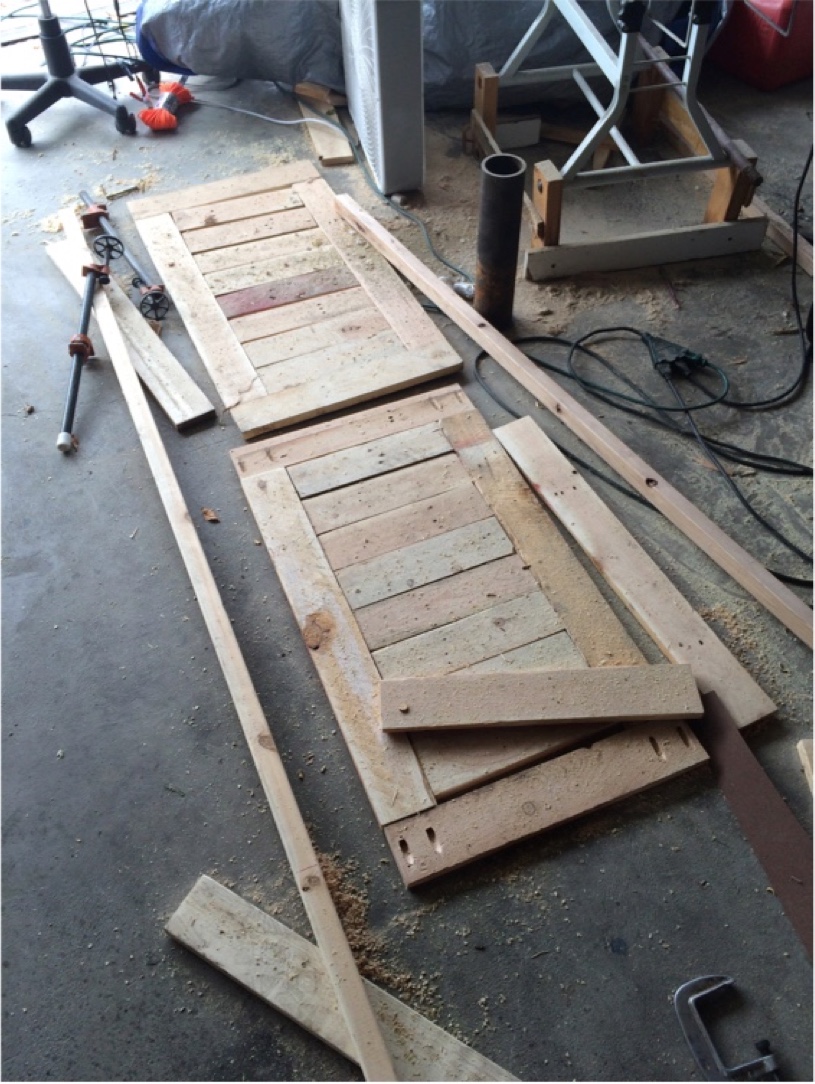
Here are the two halves, outer frames snugly attached but the inner boards are just set inside to help with alignment.
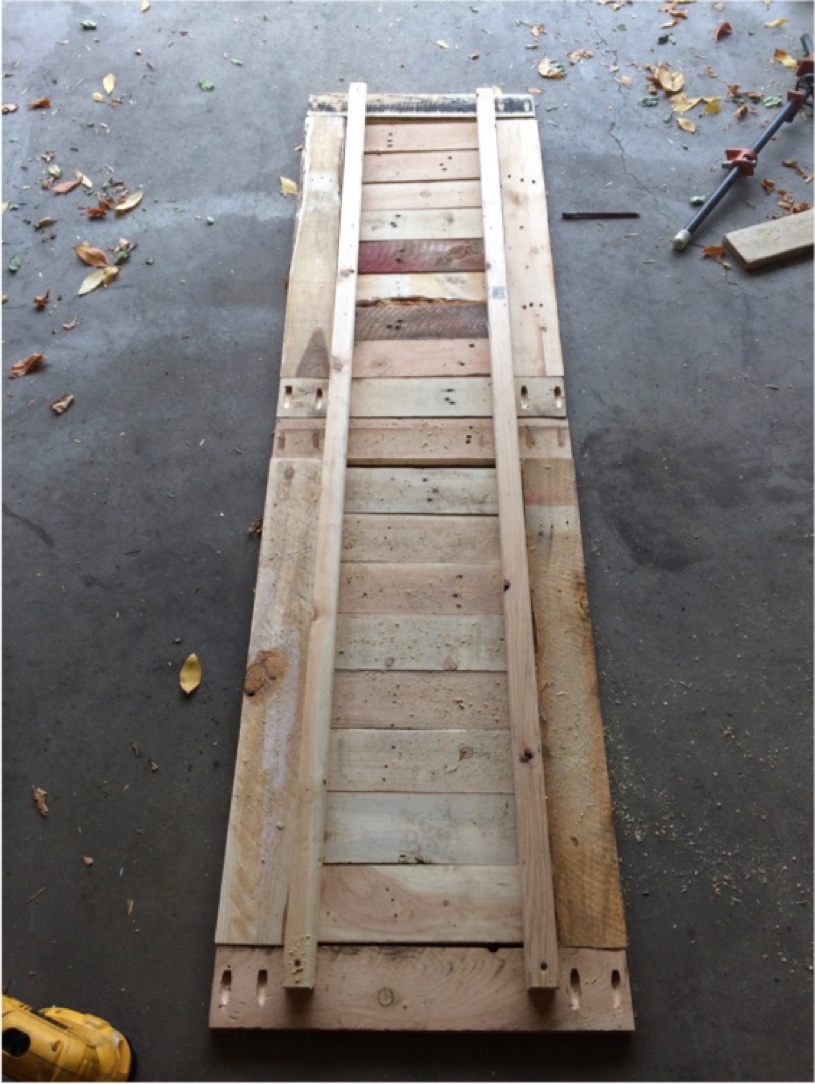
I took a 1x1 and used it to make a sub frame. This will hold all the center boards in place and provide extra stability to the table as well as make it straight. The boards were roughly 5/8” thick so I used 1 1/2” screws to attach the 1X1 to the table top frame. That gives me about 1/2” into the boards but keeps me from poking through. My goal was not to have any screws visible form the top.
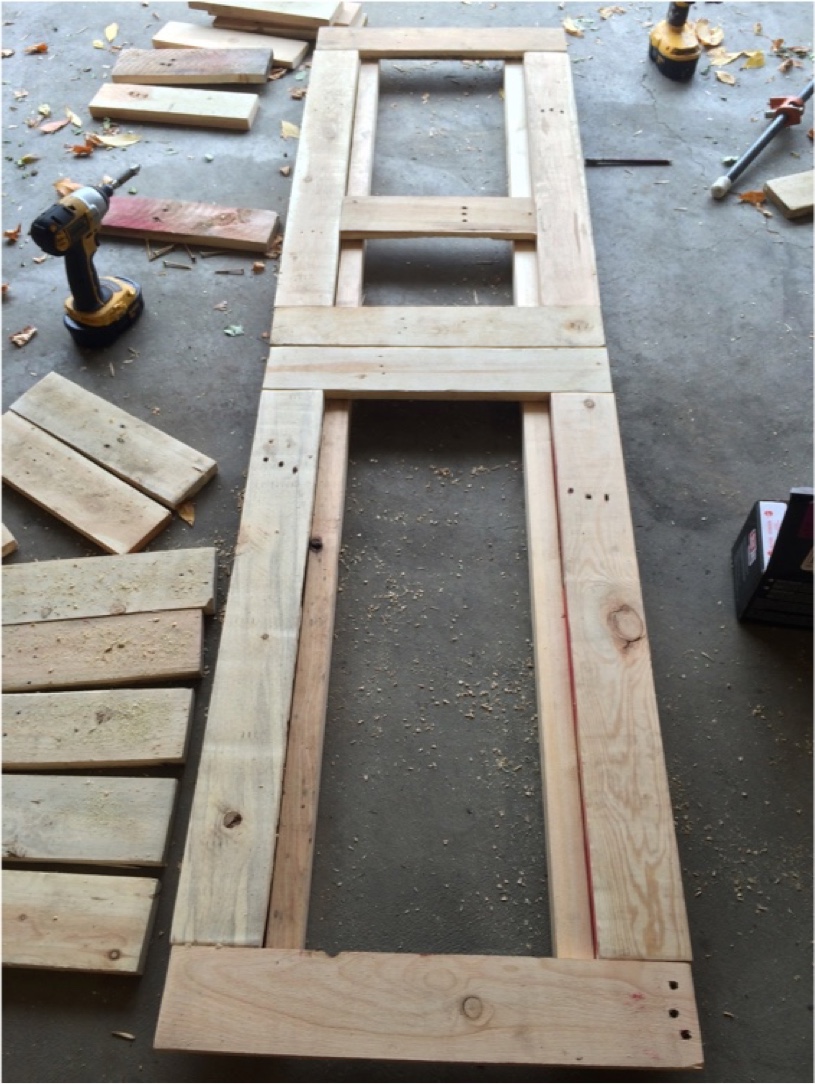
Flipping the top over to see how it looks. Placed a few boards in the center but I will have to flip it back to actually attach them.
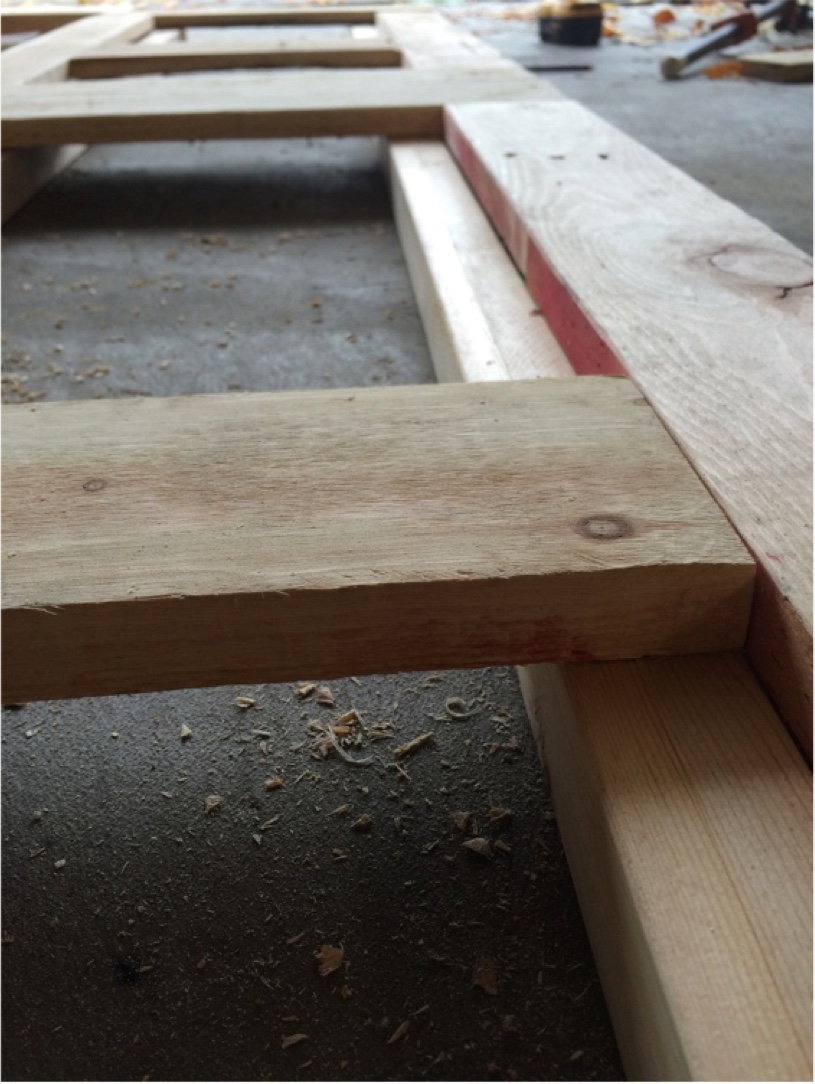
Snug as a bug in a rug.
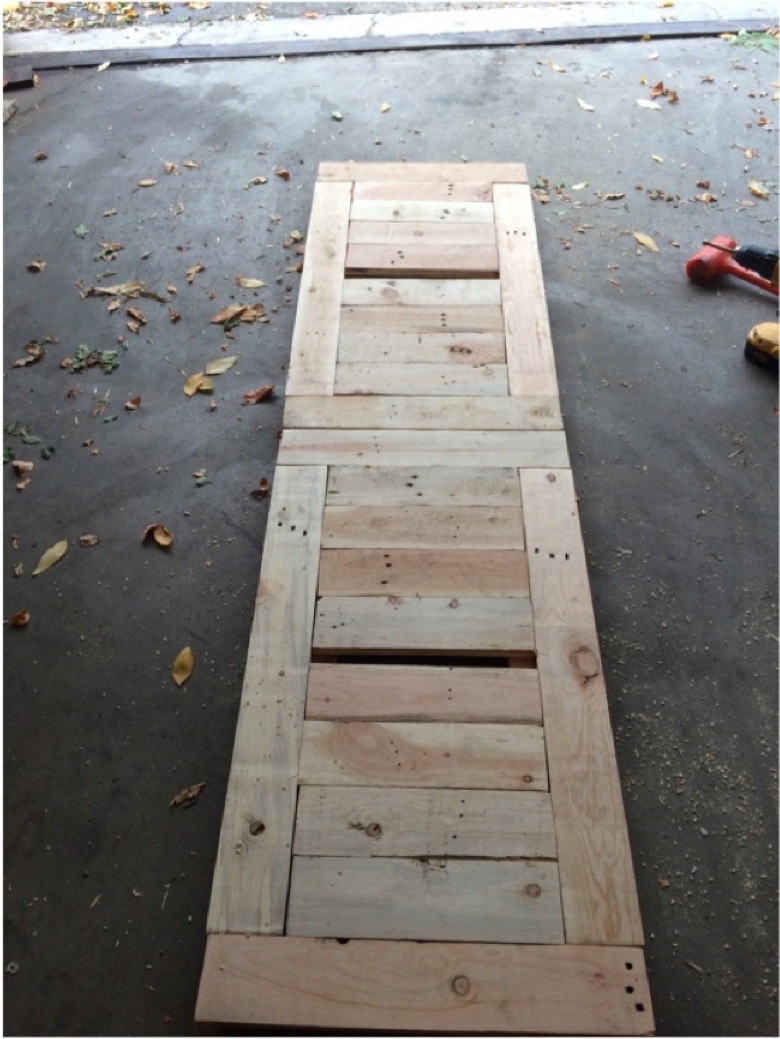
Lining up all the boards to see how they sit form the top.
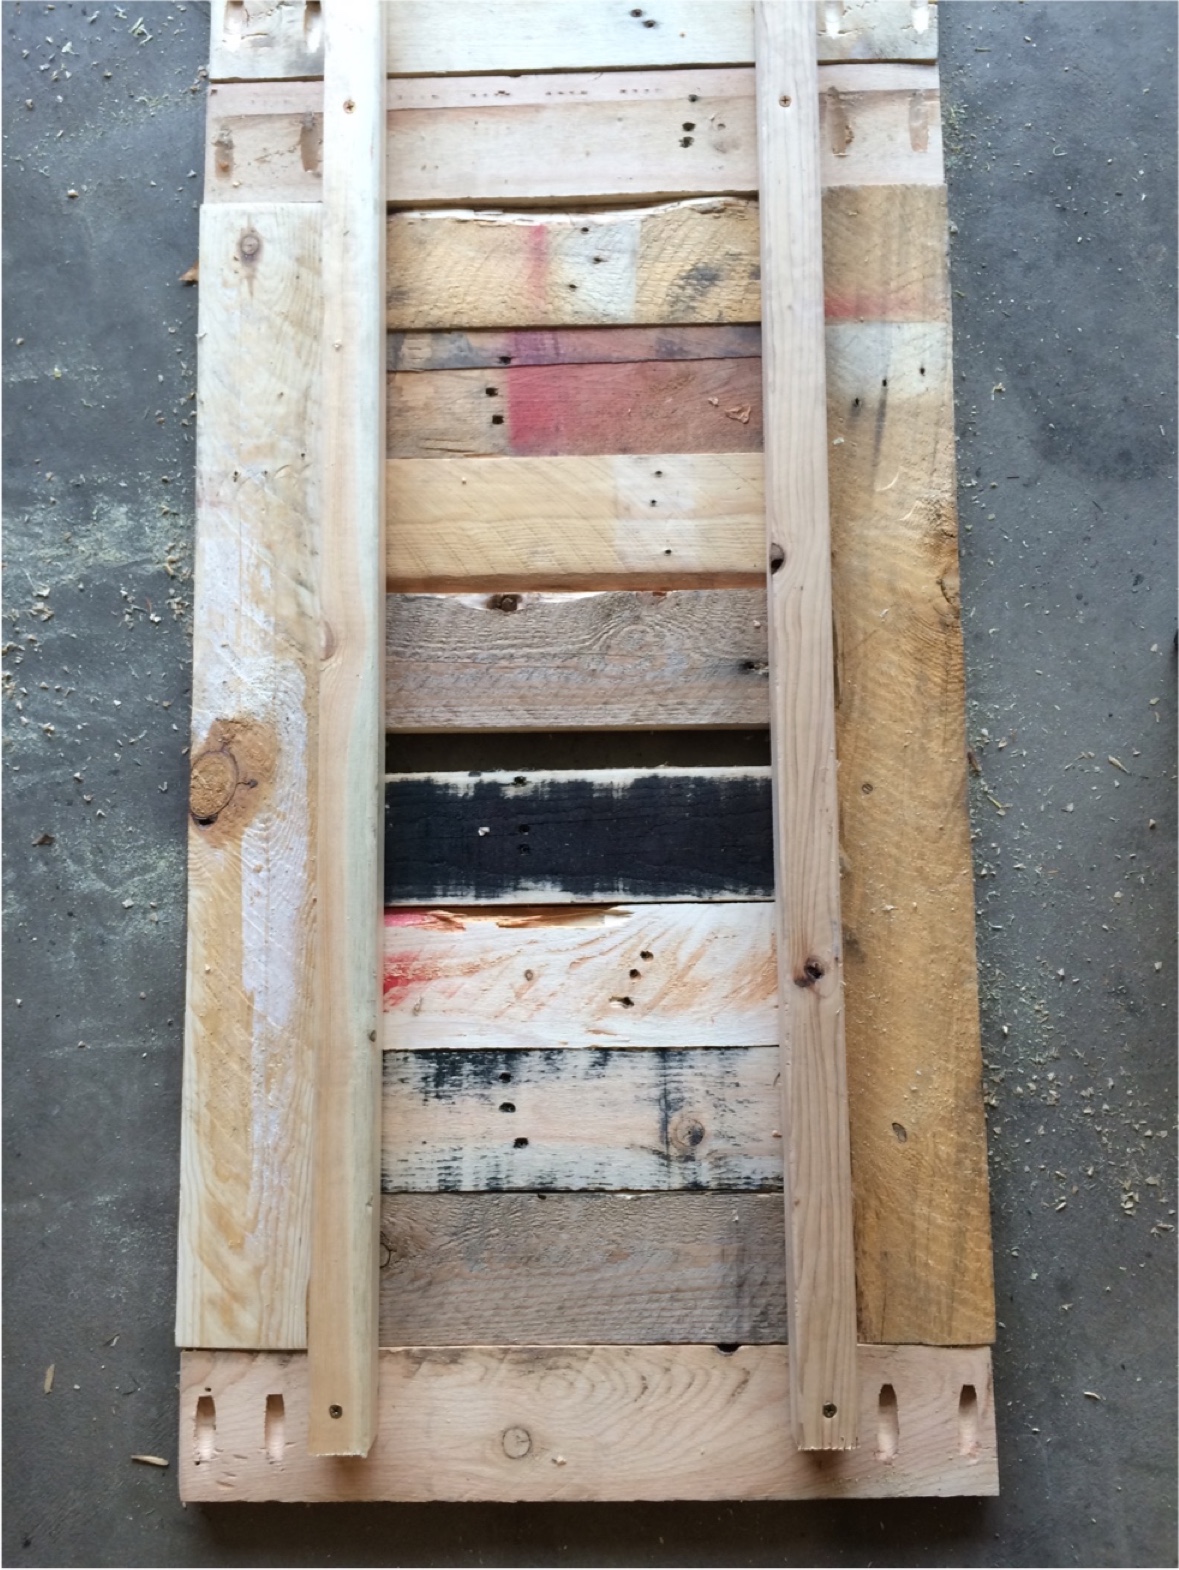
Flipped the whole thing upside down, so all the ugly sides are up and started attaching. There was a little gap but luckily it happened on both sides so I cut an extra board and placed the gap in the center of the half. It actually tuned out kinda nice to breakup the repetitiveness of the boards.
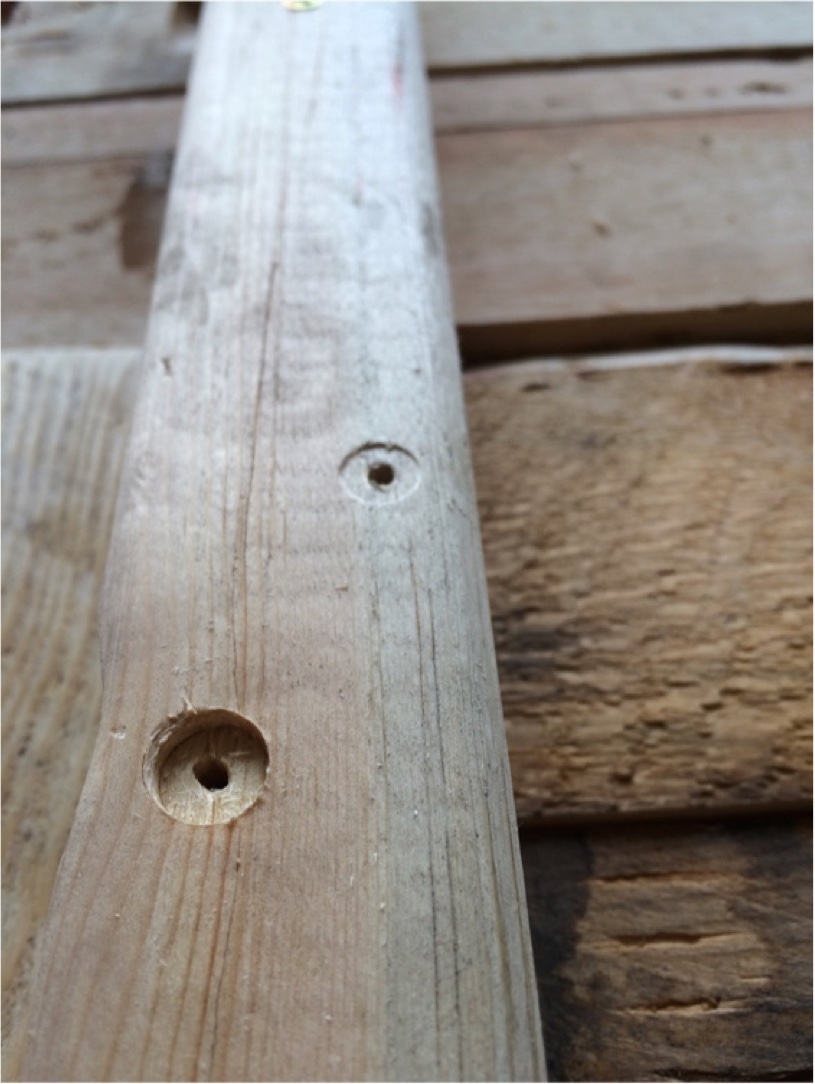
Throwing in some staggered pilot holes to hold the top boards down. Staggered holes to prevent splitting the wood. if you line up too many holes with the same thread in the grain some times it can cause it to split there.
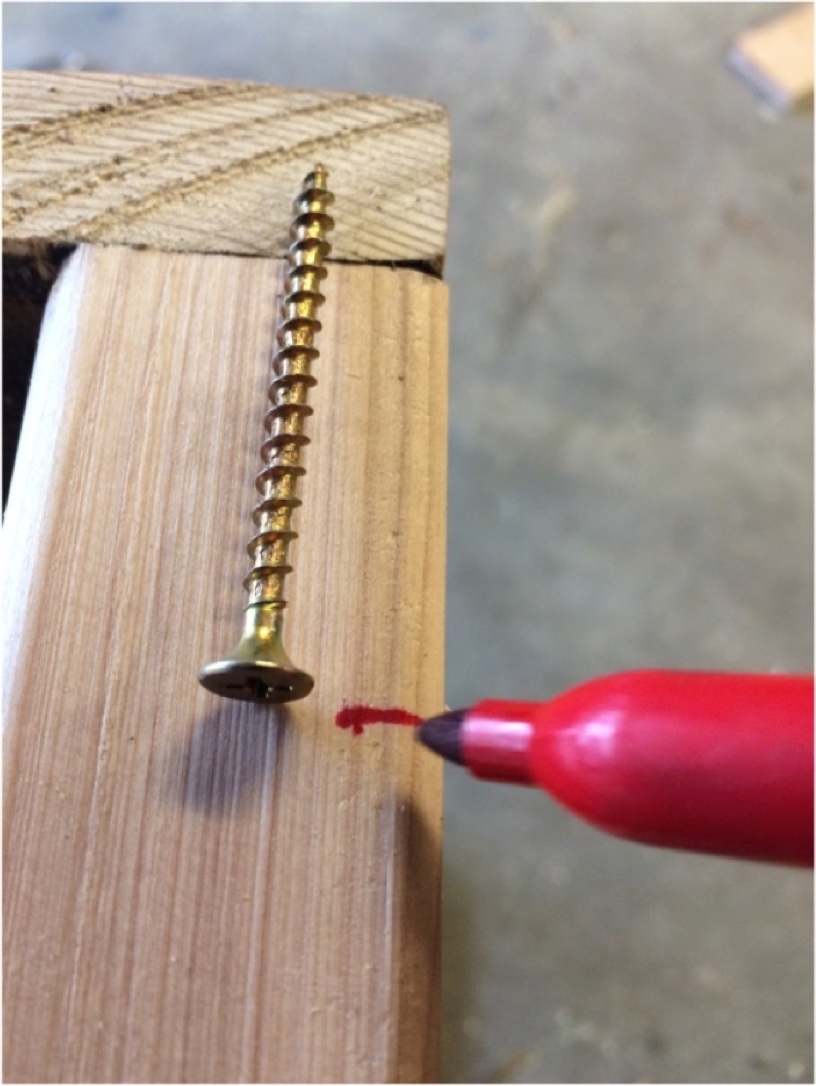
Mark where I need to stop drilling.
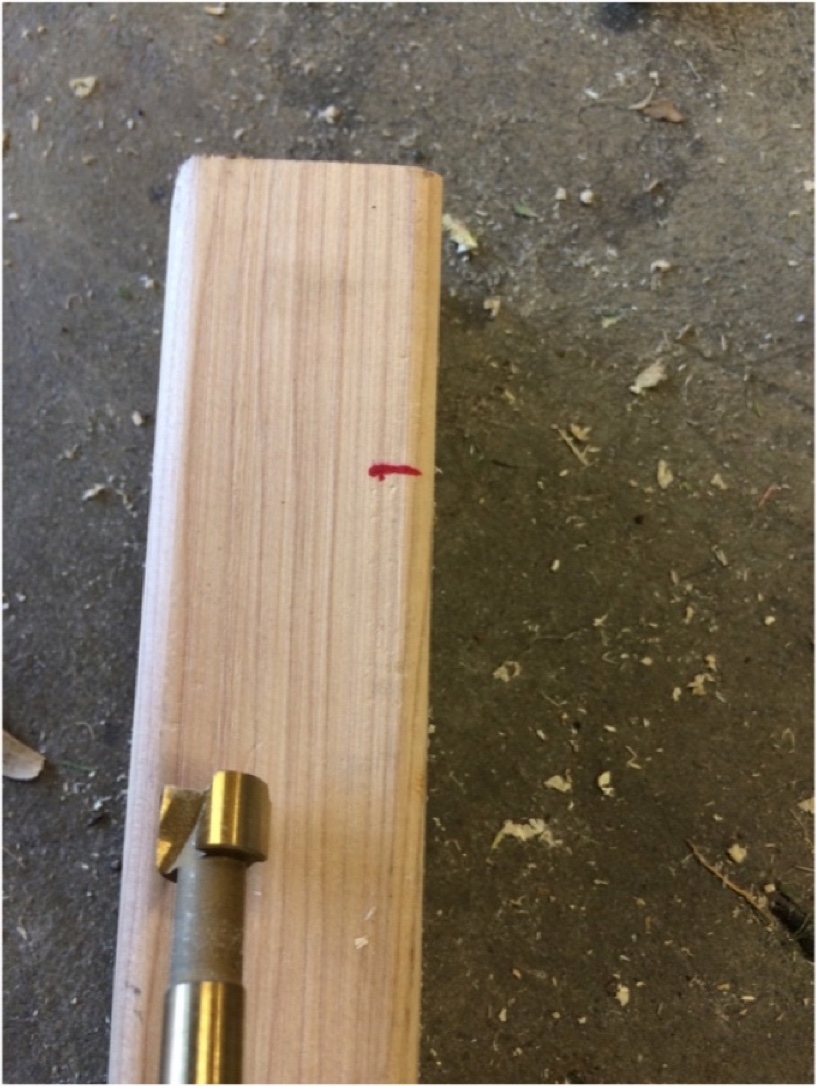
Guess a great starting point about the length of the screw away so 1 3/8” ish. I know super precise.
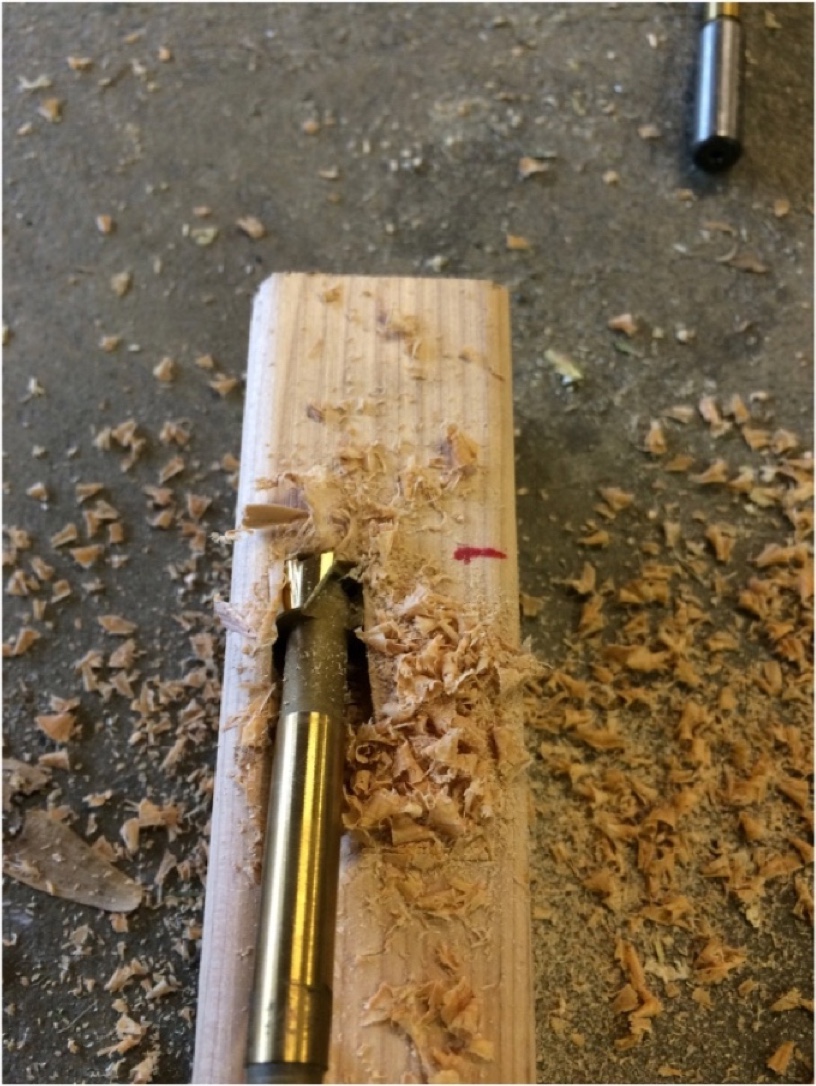
Drill like a mad man.
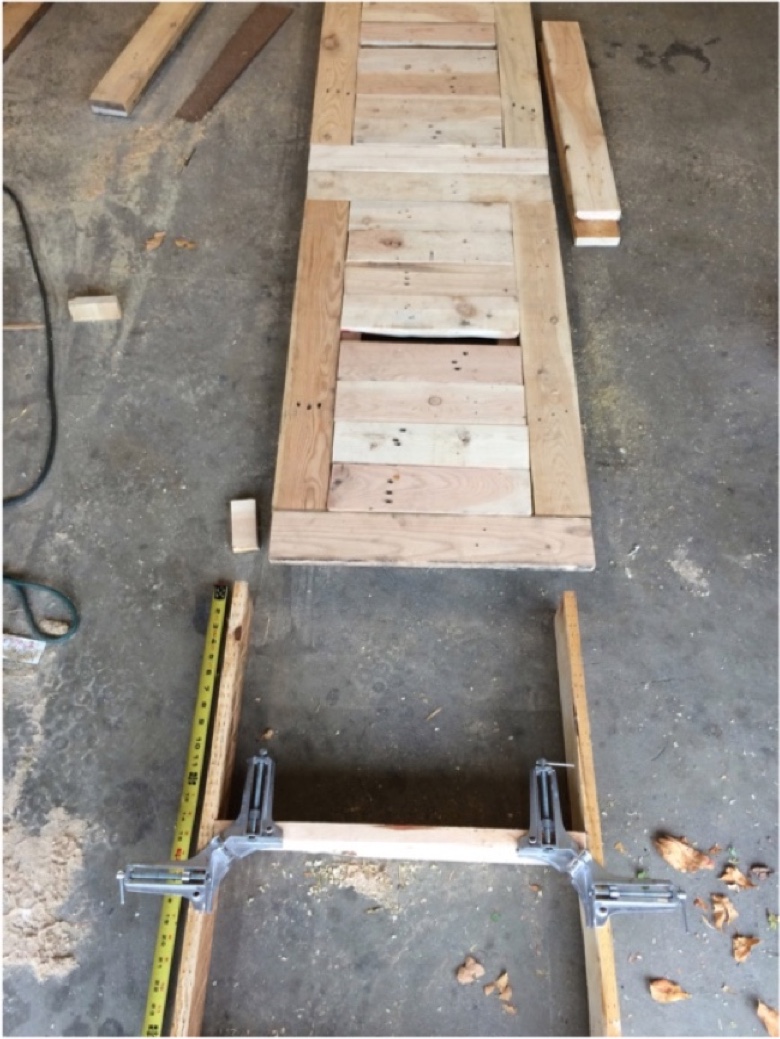
Creating the side Legs. My sister wanted a shelf to stack junk (I think she is a hoarder). So I made them little shelves along with the space under the table they will be able to put things. I used these 90 deg clamps I have to hold the shelf where I wanted and secured with screws. Looking back now I probably should have made them deeper but beggars can’t be choosers.
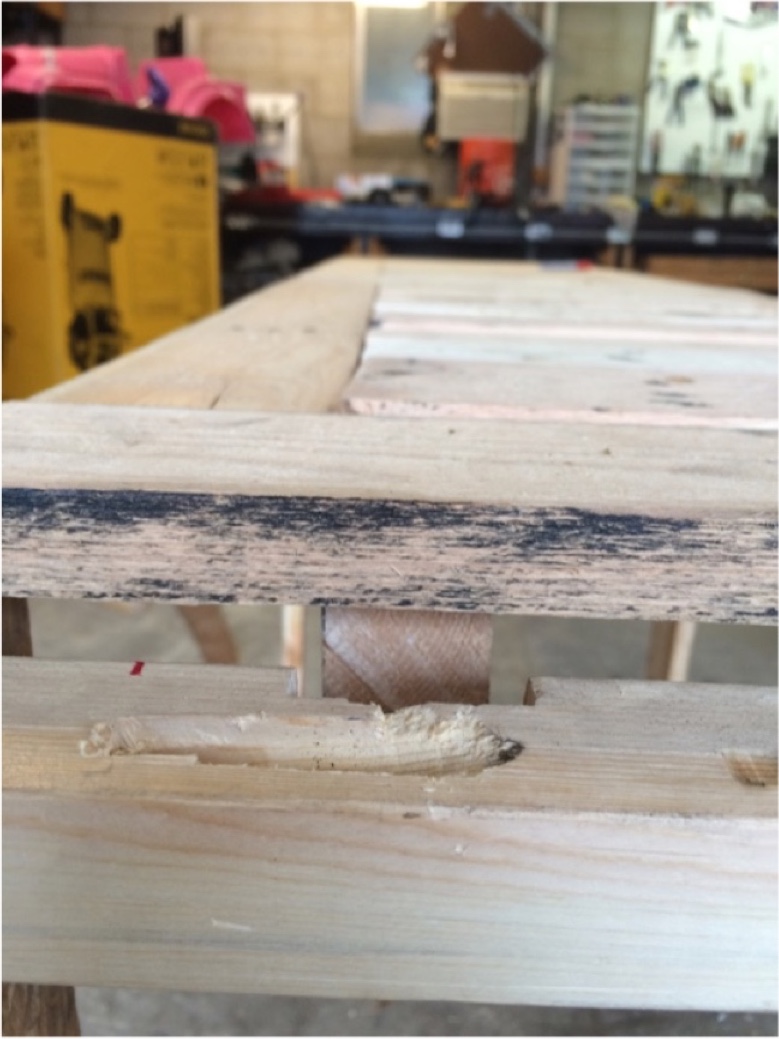
Had to notch out a pice for the sub frame to fit up snug like I wanted and sunk the screw for attaching to the side leg.
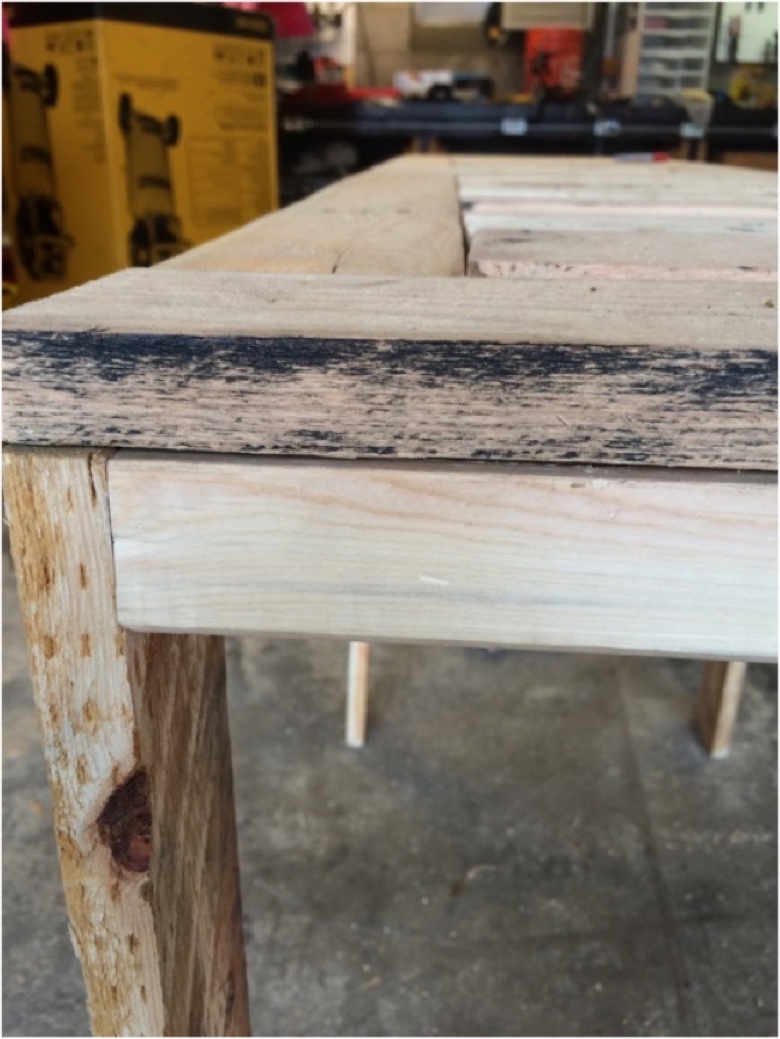
Add the end pice on to cover up all the screws and complete the top. Then attach it from below holding it snug in place.
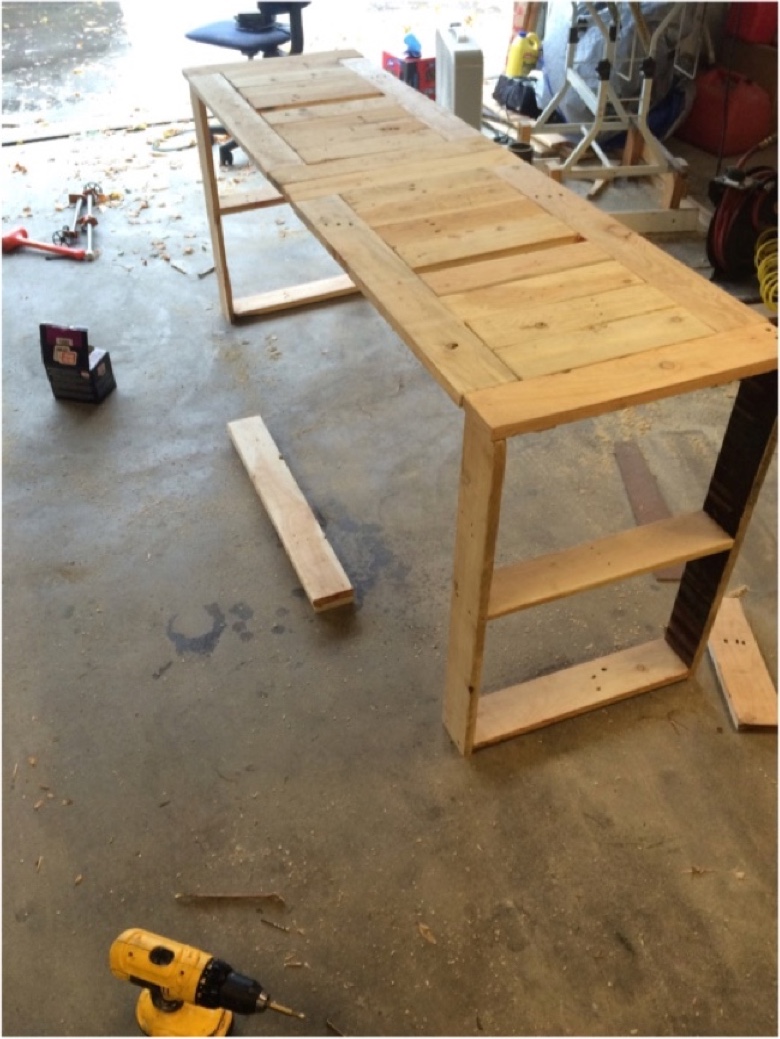
The table is designed for sitting behind her couch because of a strange wall protruding preventing the couch from sitting against the wall. This made the table pretty long and I was afraid of it not being able to support that much wight so I decided to add a center supporting leg.
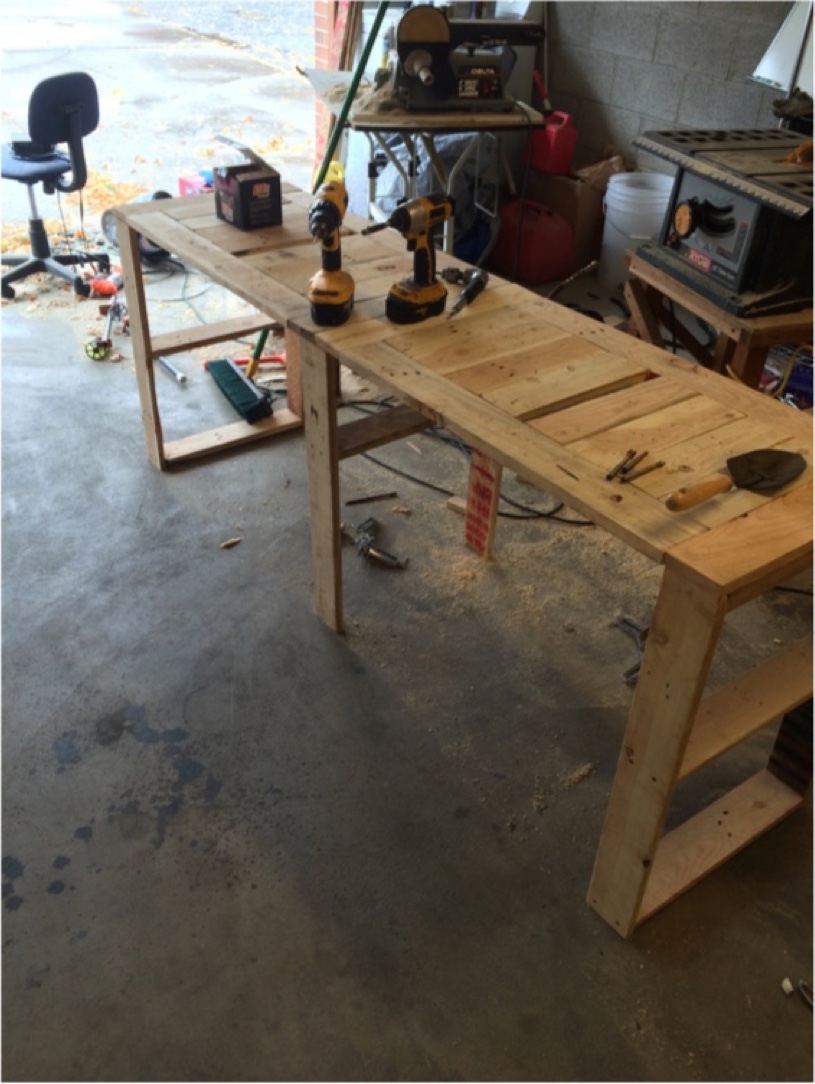
Added a cross bar for extra support of the legs but placed it higher so things can be stacked under it. Was not too worried how this one looked because the table will be sandwiched between the couch and the wall. In other words you will not see it. I noticed if I tried to put some wight on it the legs would flex a little and did not want them to break off so I added some 30 deg supports.
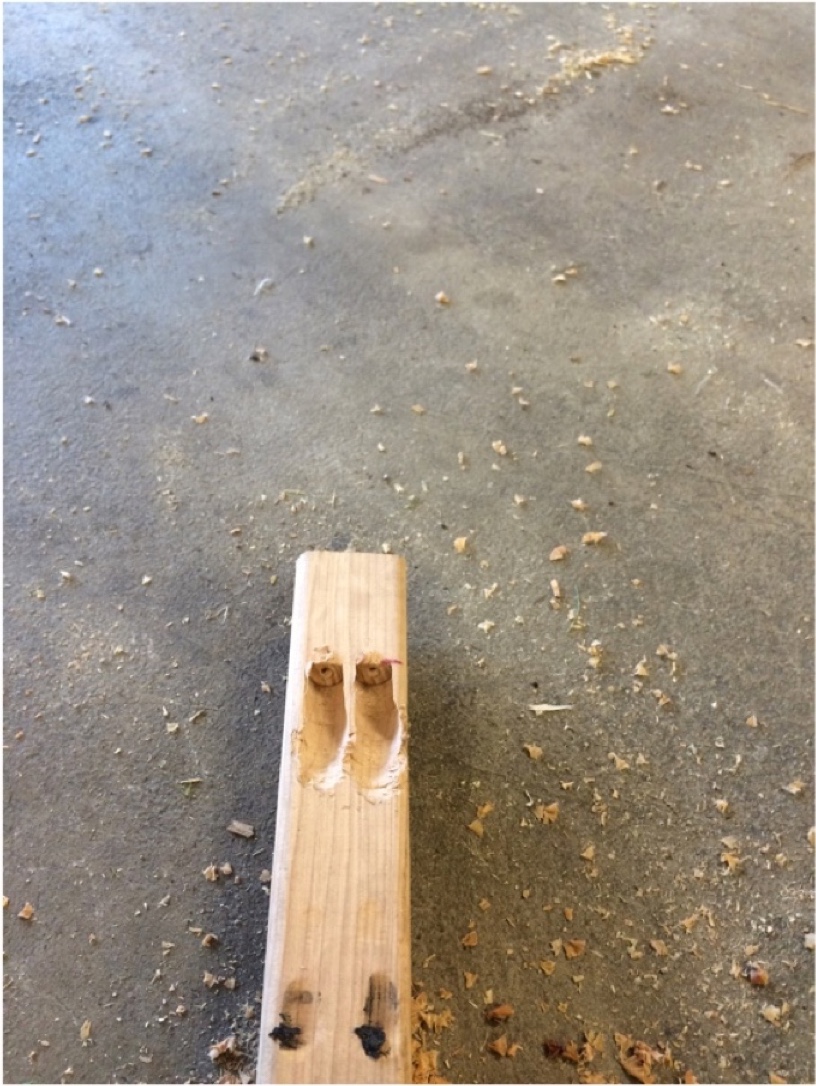
Just took a section of 1x1 and predrilled some holes. Not my prettiest work but again its on the underside so I don’t mind too much.
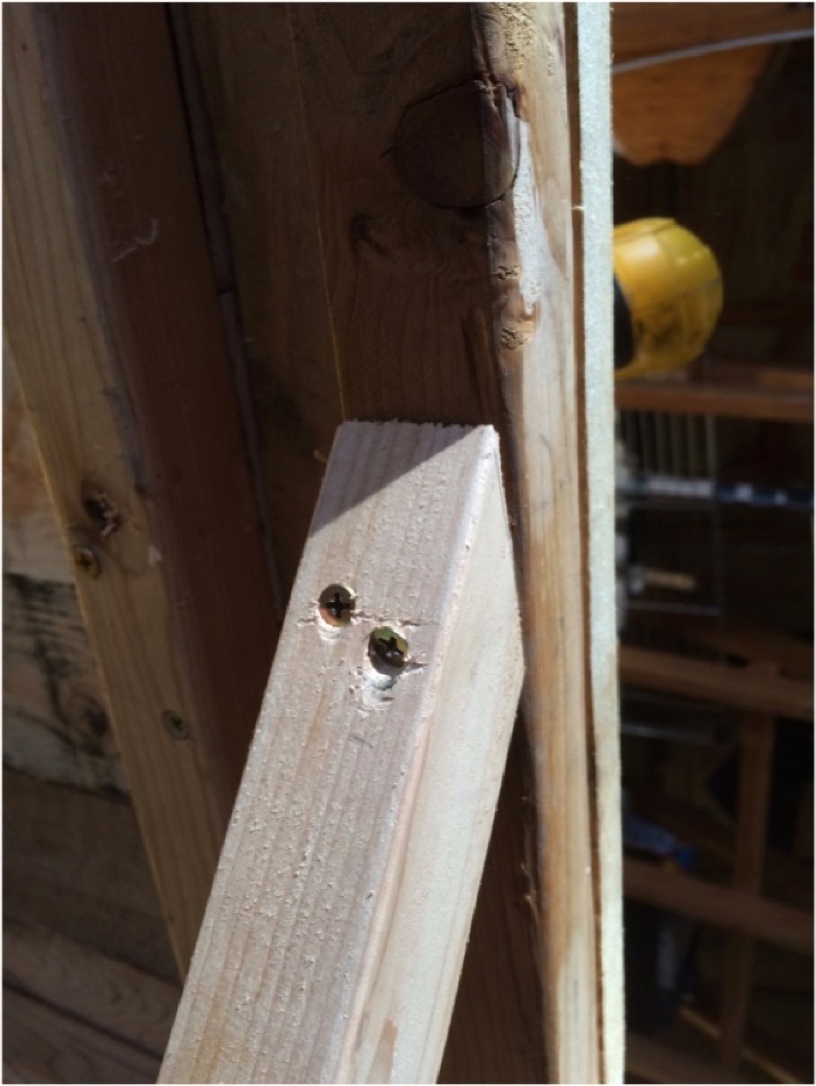
This one I didn’t even sink that much but it worked. Added one to each corner and it really improved its rigidness.
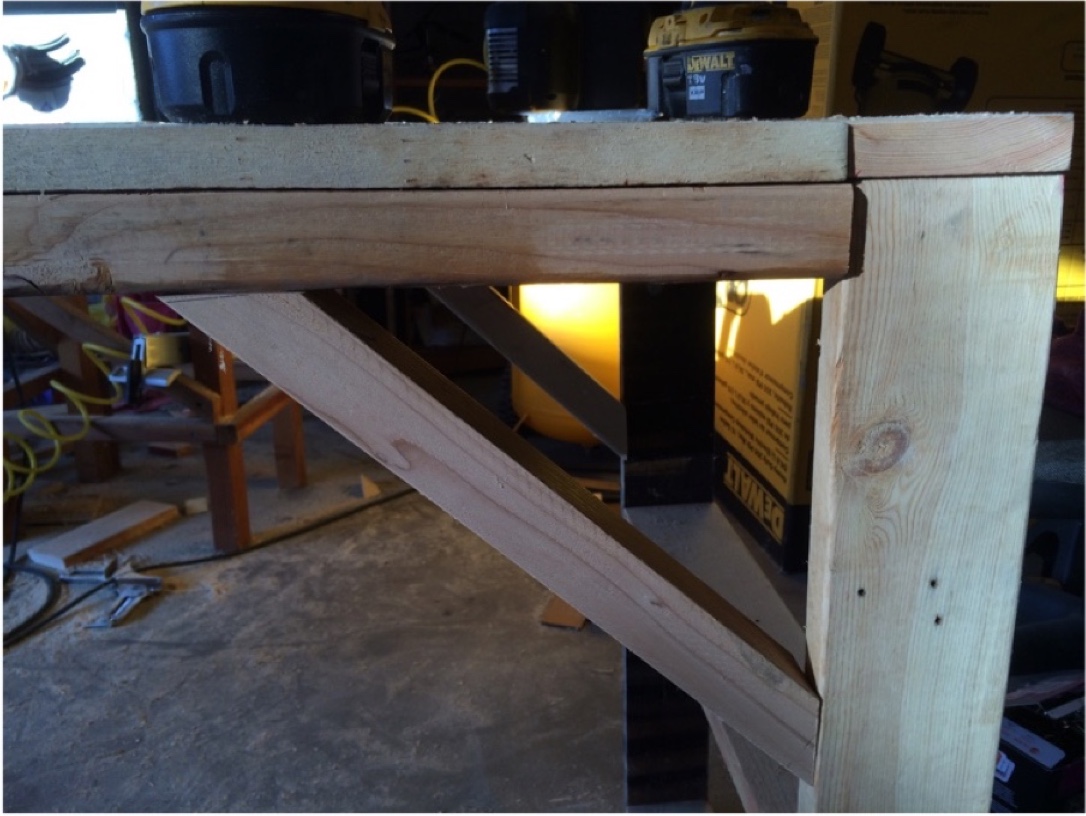
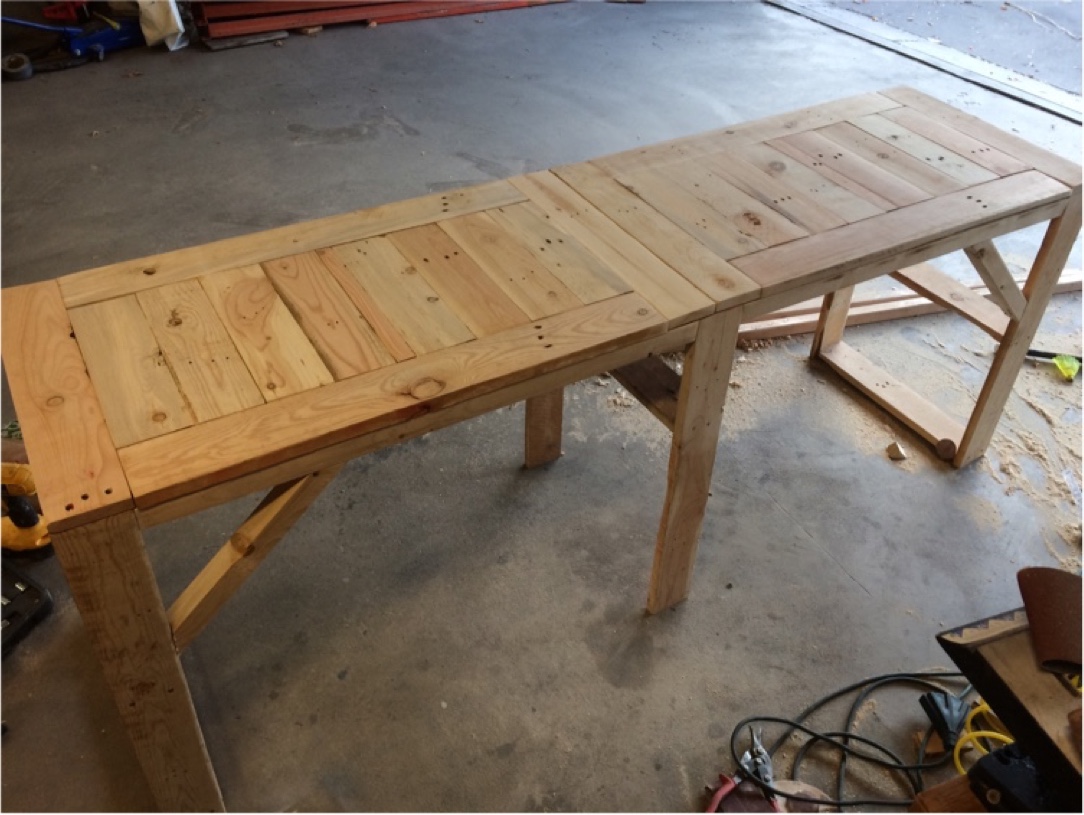
There she be starting to shape up.
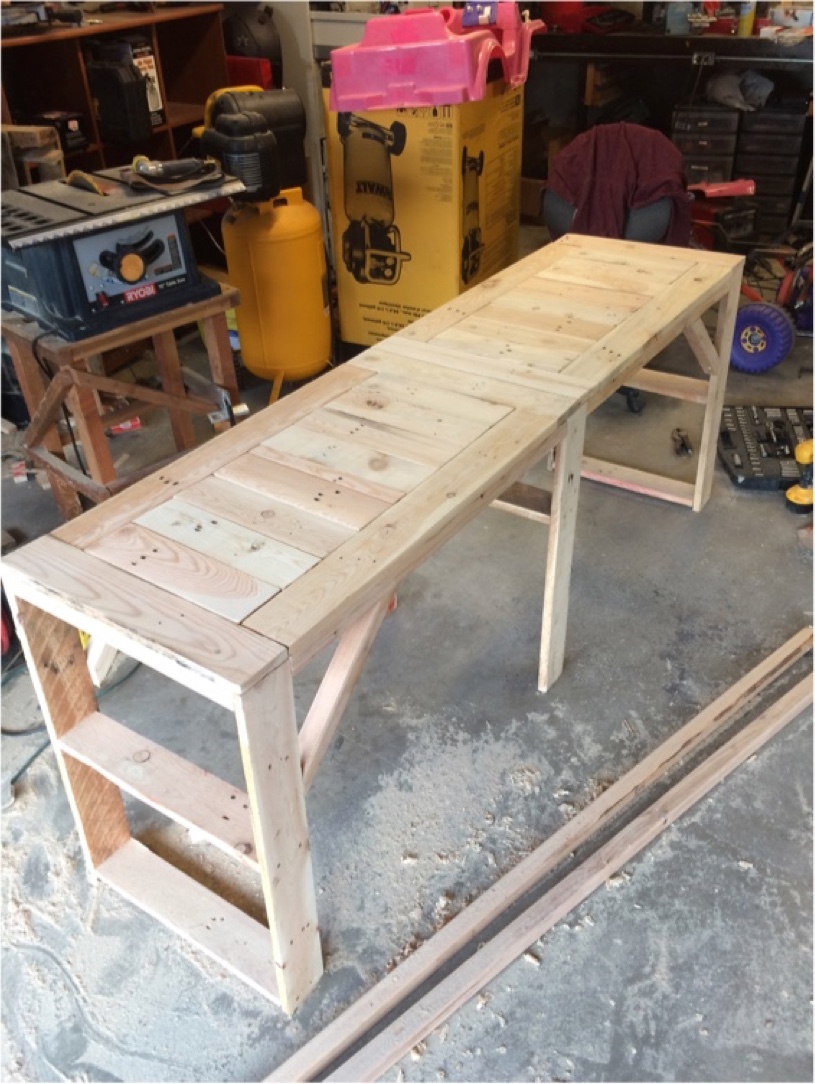
Now all that is left is sanding everything smooth. Since I was using pallet wood there are variations in the size of the wood so I waited till It was all put together before I really sanded everything down to its final state. I used an old hand plainer (essentially a blade that shaves off a little at a time) for the initial leveling and then an electric sander for the rest.

Blow off all that dust and it don’t look to bad. Now It just needs some stain and a coat of poly acrylic and we are good as gold.

The Final product again thanks for checking it out. Follow our journey and other projects on Instagram @byjo_designs and I will make more detailed posts here.
Check it out on imgur
DIY Pallet Wood Table.