Google Mows My Lawn
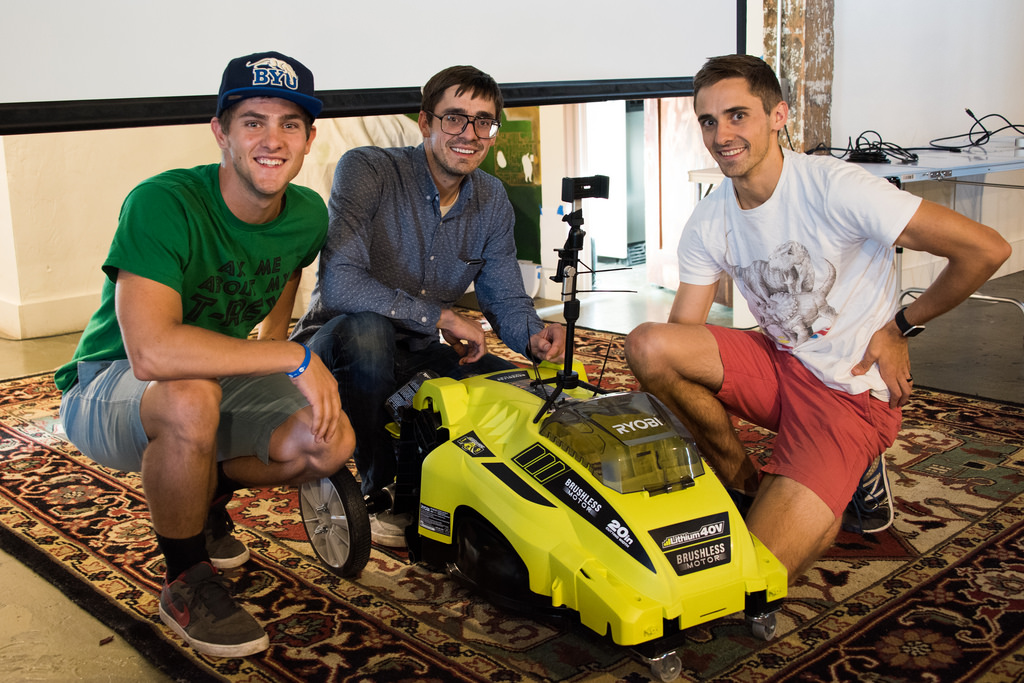
Back in September of 2015 I lost my job as an IOS Developer. It was sad and really blind sided me. But I liked to go to startup conventions and have been apart of StartupGrand for a while and was presented with the opportunity to participate in a Hackathon at Start-fest.

This was right around the time of the internet sensation of #TwitchPlaysPokemon
Twitch Plays Pokémon (TPP) is a “social experiment” and channel on the video streaming website Twitch, consisting of a crowdsourced attempt to play Game Freak’s and Nintendo’s Pokémon video games by parsing commands sent by users through the channel’s chat room.
Which is still playable I think. We really like this Idea that people were able to come together with perfect strangers and after 7 days complete the game ( even with all the 👹 Trolls out there ). So my brothers, Doug and David and I (Dan) set out to create something great along these same principles. The stipulations of the Hackathon was that you had 24 hours to build something that used the internet and we decided that we wanted to use normal parts you could purchase off of the shelves at Home Depot 🛠.
We wanted something that would be helpful for our own lives and that the whole world could participate in. So we took the daunting chore of 🚜 mowing our lawn and decided to outsource it to others. Yes there is the risk of participants drawing crude things in our lawn. We figured that the world as a whole actually have a very difficult time coordinating so that is a risk we were willing to take. So we set off to build a crowdsourced device that would mow our lawn for us.
So here is the parts/price list from the project with links.
-
Electric Lawn Mower Ryobi 20 in. 40-Volt Lithium-Ion Brushless Cordless Walk-Behind Electric Lawn Mower 499.00
-
Two Drills Ryobi 18-Volt ONE+ 1/2 in. Cordless Hammer Drill 69.00/ea
-
Ryobi 18-Volt ONE+ Compact Radio with Bluetooth Wireless Technology 39.97
-
Three Batteries Ryobi 18-Volt One+ High Capacity LITHIUM+ Battery 99.00/ea
-
Two 3 in. Steel Swivel Caster 5.48
-
Two 4in Hole Dozer Hole Saw with Arbor 12.97/ea
-
Tripod with iPhone Mounts
-
Two iPods 199.00/ea
-
Zip Ties
-
Four 3”-1/4 bolts with locking washer and nut
-
Eight 1/2” 1” bolts and nuts
Step 1. The Mower
The mower is the core of this project, it would be difficult to get the world to mow our lawn without it 🙃. We chose this lawnmower because it was in the family of Ryobi products and it had enough space on the inside to let us mount our Raspberry Pi and it looked super cool 😎 . We wanted to keep inside the same family of products as much as possible so that we could swap batteries for any part of our project.
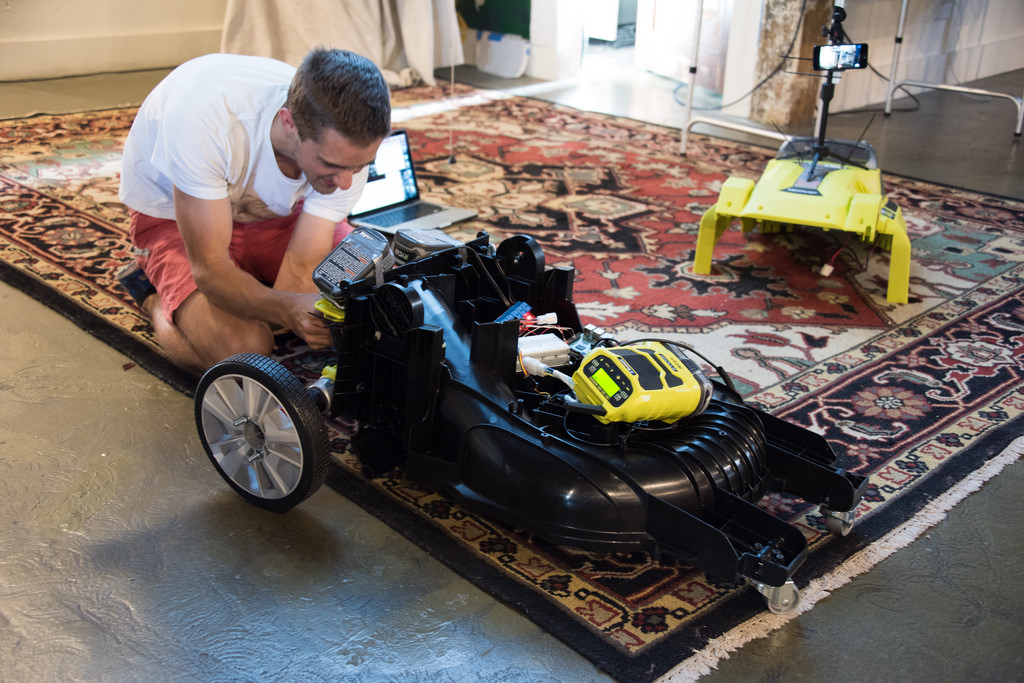
There were many pieces of the lawnmower that we will not need for our specialized version. So we stripped it down and removed anything that was not needed. First thing you need is a ⭐️ star shaped screw driver to remove some of the screws holding it together. Once all the ✨ star screws are removed you can lift the outer shell. Be careful, there is a wire connected to the top half of the shell for the battery hookup. Disconnect it and pull off the upper half. Now you can see the complex insides of the lawnmower. Yep that is it a motor and and a power distributor, motor and a clip for the battery.

There is a wire that runs up the handle to activate the motor. At the handle there are three screws on the plastic case containing the button. There are 6 ⭐️ star screws on the back but you only need to take out the bottom 4. Once open you can take the two switches out, unscrew all the plastic tabs holding the wiring to the bar running down the handle. Later we will bypass this and hooked up too our relay board so that the raspberryPi can control it.
Now you can remove the two bolts at the base of the handle and remove it completely from the lawn mower assembly To remove the back flap by popping off the clip on the end of the metal rod that acts as a hinge for the door. Slide that rod out and the door will fall off.
Step 2. Font wheels
Normally when you mow your lawn, to make a turn you push the handle down so the front end lifts up and you rotate the lawn mower. That will not work here as there wont be a handle on the finished product. So we need to remove the front wheels and the axle that connects them too the chassis.
Once they are removed, take the metal casters and attach them to the plastic that protrudes out the front of the lawn mower. These wheels swivel a full 360 degrees making them perfect for enabling better movement of the lawnmower. Drill 4 holes that line up with the hole pattern on the casters. Then take 4 1” bolts, a locking washer and a nut for each to secure the wheels to the mower. This is one thing that we will be changing on the next iteration because this lifts the lawn mower a considerable distance off the ground.
Step 3. Back wheels and drive train
Now for the drills, these are a key piece of the project because the provide the actual movement of the machine.To prep them we will need to take them apart so we can control how fast and when they rotate.The easiest way is to create a trigger between the batteries and the motor. Unscrew all the screws holding the outer shell together. You can see there are three main parts: the Motor, the trigger mechanism and the battery terminal hook up. We want to disconnect the battery so we can toggle it with our relays giving us the ability to drive. Disconnect the black wire that connects the trigger mechanism to the battery contacts.

Then take a new wire and solder one end to the black wire. Take another wire and solder to the trigger mechanism. Create a small hole for our wires to escape the housing and screw the housing back around the drill. I made my wires about 15” long so I could house the electronics inside the lawn mower.
Wheel prep
We need a way to attach the drills to the wheels securely. This is where the Hole Saw bits come into play. So take the 3” hole saw bits and line them up with the center of the wheel. There are three holes located on bits, take a ¼ bit and drill into the wheels in the same pattern. Take 3” ¼ bolts and pass them through the bit and wheel. Take a washer, a locking washer, and a nut and tighten them down. Now you can take your new wheel bit and put it into your custom drill and tighten it down. Repeat this process for the other wheel. Next we take this contraption and attach it to the chassis.
Attach to Main Body
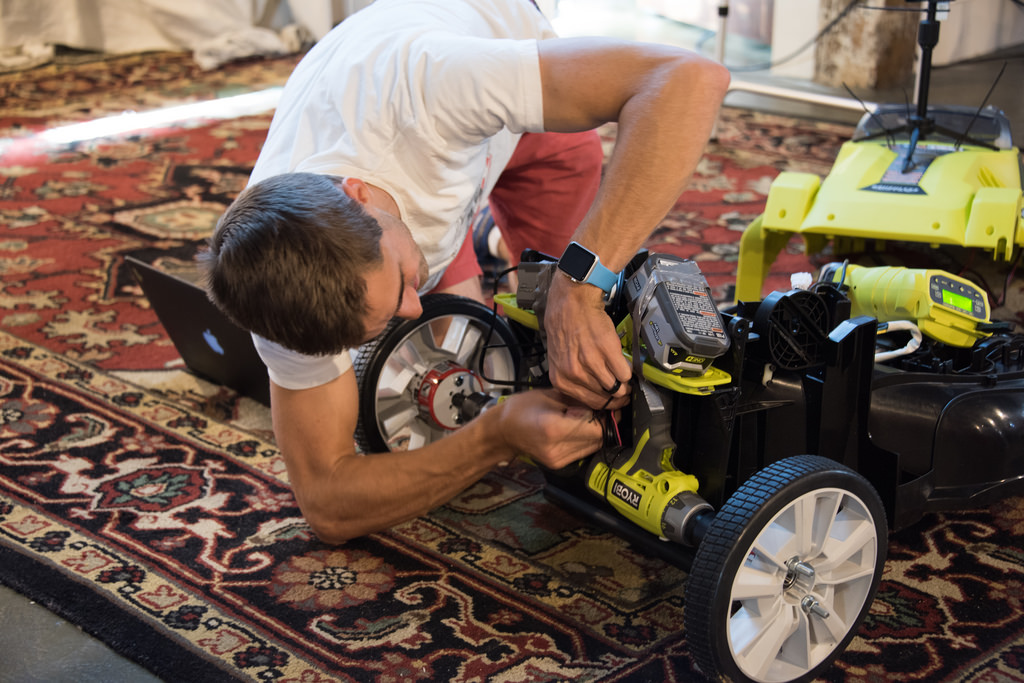
Now that you have the entire drill assembly put together you can secure them to the back of the lawn mower. You want this to cut grass so make sure the clearance is 1 - 2”. There is an attachment that comes with the drills that bolts on an external handle for more control. We heated this up to get the nut out of it and then used the bolt to secure the drill to the back of the lawn mower. Drill a 1/4” hole mid level of the lawn mower then take the extra attachment bolt and slide it through the Drill and lawnmower. Place a washer and the nut on the other side. Drill another hole at the same height on the opposite side for the other wheel and attach the other drill. This makes a pivot point. To keep the drills from rotating, drill some more holes and pass zip ties through. Cinch these down to prevent the drills from moving. ( This was definitely a time saver. You may want to go back and make something a little stronger than zip ties to hold this together. )
Step 4. The Brains
Now we need to make this things smart. We decided that a RaspberryPi was the way to go. It is easy to use gives you an entire linux OS so you can write your program in what ever language you prefer. It also has many breakout boards so you can extend it to however you would like. So the basic idea is that the Pi will interpret all the information provided by the chat room. Then it will trigger the correct relay to tell the drills on the back what to do. Initially we wanted to keep it simple so we used “w”,”a”,”s”,”d” for directional controls. The rest is simple soldering for hooking up the relay board. Take the wires that we attached to the drills and place them in the relay terminals, securing them by screwing the terminals down.
If you have any comments or questions don’t hesitate to leave them below. This project taught us allot and we were supper excited when we took first in the competition. My Brothers and I love building things and exploring new Ideas. We may make modifications and improve this and I will try to update with a new post. We got allot of news coverage for this you can check it out here Fox News Story I made an instructables you can check out and won a raspberryPi competition with it also.
